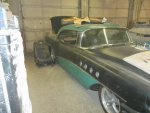
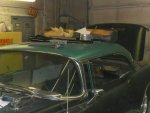
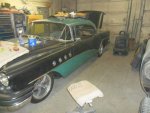
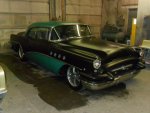
just seems right to continue my build here . in brief I had seen this car a couple times at shows for sale an now its mine , as to its condition its had a lot of bad owners who either started repairing something an stopped or had a decent idea on how to fix something an just didn't follow through. some made changes that would be too much of a pain to remove an return to oem . Now it falls on me to undo the wrong an get this beauty back up to a nice respectable condition.
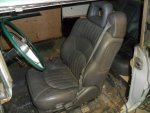
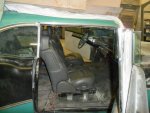
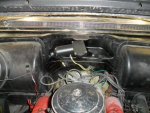
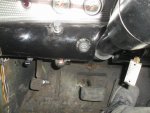
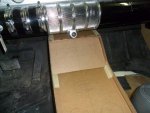
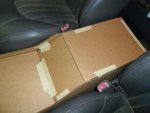
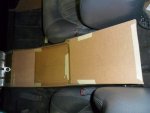
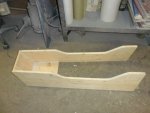
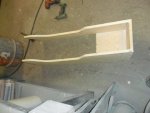
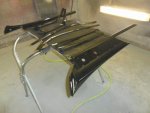
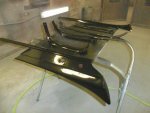
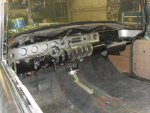
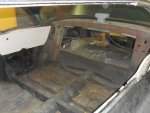
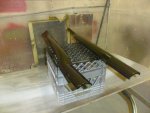
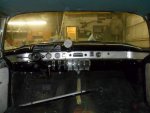
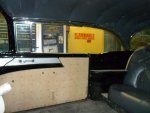
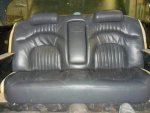
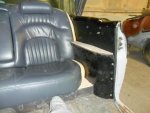
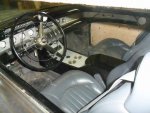
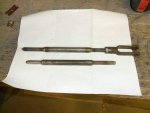
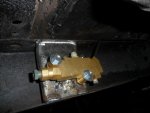
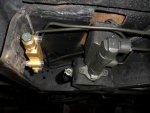
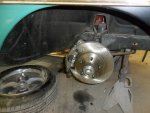
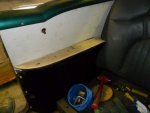
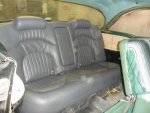
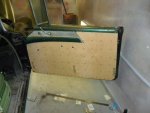
things I have already done or started , removed the rear seats an installed 04 Pontiac Bonneville leather rear seats front power to follow, made all new 1/4 panel upholstery boards as well as door panels as kick panels ,removed all glass cleaned a greased all window regulators, realigned the body panels , swapped out the front drums an converted the car to disc drum brakes with a dual resivior master cylinder , ordered an electronic ignition system (yet to be installed ) , an finally last night I began work on the heating system all of witch had been bypassed .
things I have already done or started , removed the rear seats an installed 04 Pontiac Bonneville leather rear seats front power to follow, made all new 1/4 panel upholstery boards as well as door panels as kick panels ,removed all glass cleaned a greased all window regulators, realigned the body panels , swapped out the front drums an converted the car to disc drum brakes with a dual resivior master cylinder , ordered an electronic ignition system (yet to be installed ) , an finally last night I began work on the heating system all of witch had been bypassed .
Attachments
-
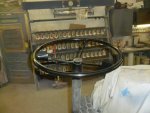
 buick 003 (800x600).jpg41.4 KB · Views: 21
 -
 last of the brake work 003 (800x600).jpg32.7 KB · Views: 17
 -
 last of the brake work 009 (800x600).jpg39.2 KB · Views: 19
 -
 last of the brake work 010 (800x600).jpg50.5 KB · Views: 19
 -
 last of the brake work 001 (800x600).jpg47.2 KB · Views: 18
 -
 buick rear seat conversion 008 (800x600) (2).jpg30.5 KB · Views: 16
 -
 buick rear seat conversion 009 (800x600).jpg42.7 KB · Views: 16
 -
 doors cleaned greased an aligned w new door panels 003 (800x600).jpg35.6 KB · Views: 14